
Do you have an old computer laying around? Or do you need a server for your company? No matter what’s the case, setting up a home server is much easier than you think. In this blog, you will learn the technical specification for a home server and everything else you need to setup. Without further ado, let’s get right into it.
What server do you need?
A server, in simple terms, is a computer. Yes, it can be the 10-year-old PC that’s laying around in the basement, or you can buy your commercial-grade rack-server. But before you spend all your money, it might be smart, to first think about what you want to use it for. If you just want to save some photos and manage smart-home devices, it’s better to use that old computer, than to spend $2000 on a new server. However, if you plan on using VMs and storing tons of data (for example in a company), it is better to spend a little more money on a rack-server.
I would say, if you don’t plan on using resource-heavy services, such as multiple VMs and you want to store under 10TB, an old computer will suit you best. But if you want to store more than that, and run multiple VMs at once, I would buy a good computer/server. Of course this depends on the VMs you want to use.
Building your server
Old computer:
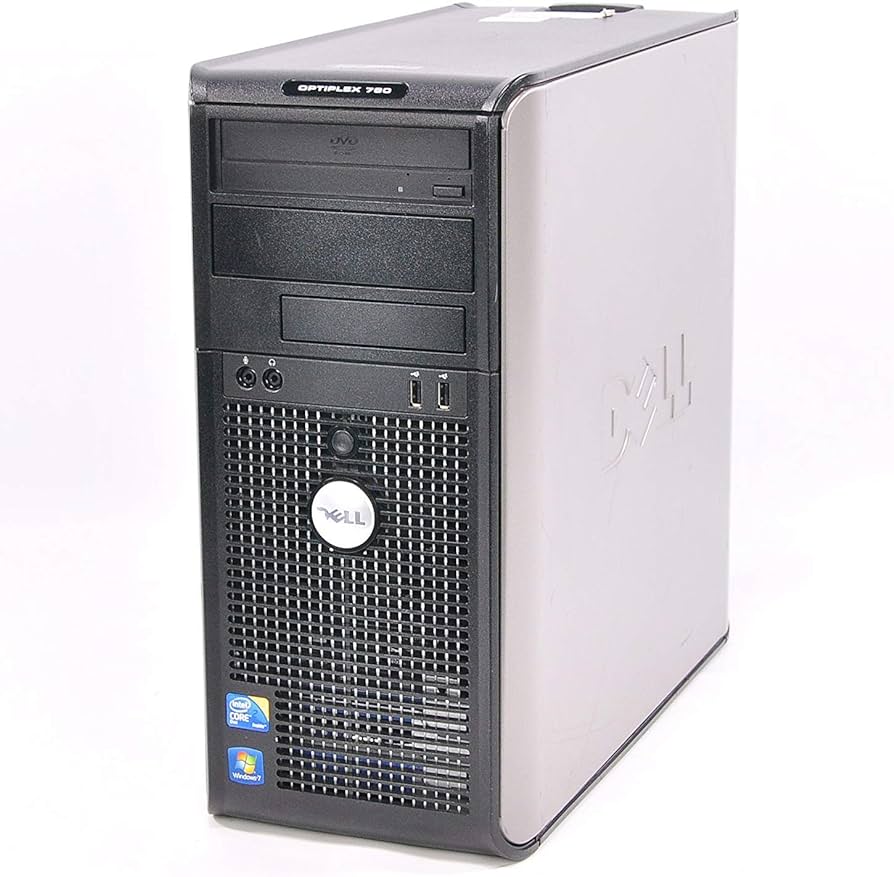
If you have decided on using an old computer, you have saved yourself a lot of money which you will use to upgrade the machine. For most of the part, I would just buy big HHDs for more storage. But you can also upgrade cooling and equip more RAM. Personally, I recommend to buy a Seagate IronWolf 4TB HDD, or one from Western Digital. For RAM, I would recommend at least 16GB, but upgrading to more, has a ton of benefits. So I would always keep room for more. At last, cooling: Now this depends on where you plan to put the computer. If you want it to be more quiet, buy some bequiet or noctua fans.
While on the topic of cooling, you can also renew the thermal paste on the CPU, which will reduce temperature and increase performance.
Rack-server:
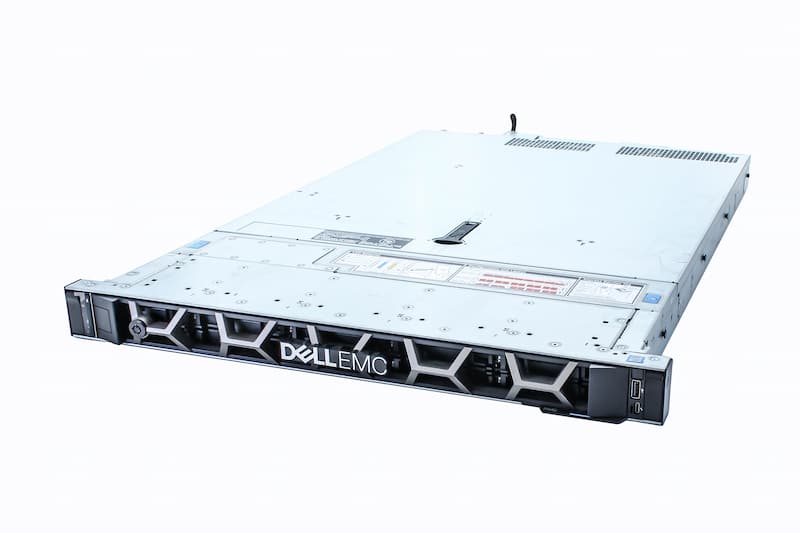
You want to buy a real server? Well, now you will have a lot to choose from. If you only want a lot of storage you should get a NAS from Qnap or Sinology. If you want a lot of performance, there isn’t one right choice. I recommend to take a look at the DELL Poweredge series. With that out of the way, you should think about specs. I personally would recommend Seagate IronWolf 10TB HDDs, but once again, there are many different to choose from. For RAM, I would buy crucial RAM, around
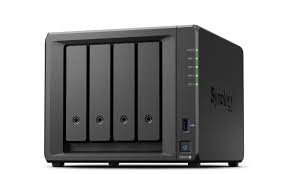
128GB, but it really depends. In this topic, I can’t give you an exact list of what to buy, because not everyone will need that much storage or that much RAM.
Networking
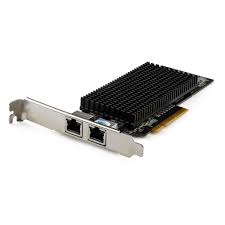
Before buying your server, there is one last thing to consider: Network cards. This is an important topic as this will define how fast you can transfer files from and to the server. If you use an old computer and don’t transfer a lot of files you can get away with 1Gbit networking or 125MB/s. But with all other cases, I recommend at least 10Gbit networking. For that you need to buy a 10Gbit network card for your server, your PC, a 10Gbit network switch and router. I may write an entire article all about networking and 10Gbit but for now, you will have to do your own research.
Well, finally you are done with server configuration. Now let’s get over to the exciting part.
2. Setting up your server
Server OS
For your first server boot, you must connect a keyboard, monitor and mouse to it. Also make sure the whole server is wiped.
The OS you choose is very important, as it will be the primary way you interact with the server. Of course you can get Windows 10/11 and call it a day, but if you want to have a real server you must get something more lightweight, like Windows-Server 2016 or my favorite Ubuntu Server. In this blog, I will go into Ubuntu Server, as it is free. If you want to find out more about Windows Server, you can read this.
To install your preferred OS, follow this step-by-step instruction:
- Get a USB (at least 8 GB)
- Install the .iso file
For Ubuntu Server click here. - Get Rufus (this will convert the USB to a bootable drive)
1. Download Rufus from here.
2. Open the application
3. Specify the USB and the iso file, leave the other options the same
4. Click on Start and accept the warning
5. After the process is complete eject the USB - Start your server with the USB plugged in.
- Follow OS install instructions
First things to do on a server
Ubuntu:
Install openssh-server so you can remotely connect to the server without having to connect monitor/keyboard
sudo apt install openssh-serverNow you can go on your client machine, and in the terminal/cmd type:
ssh <username>@<local_ip_of_server>It will ask for the password which you must enter and… voila you are remotely connected to your server.
File share
Now that you can connect to the server more easily, let’s talk about file shares. Basically if you want to store files on a server you can create a network share that you can access from every device in the network to store your files.
To do that install samba:
sudo apt-get install sambaNext create a directory where you want to have the shared folder, like this:
mkdir <path_to_folder>Now you have to set your samba password for your user
sudo smbpasswd -a <user_name>After that you must edit the samba configuration file to allow access to the folder.
sudo nano /etc/samba/smb.confand add:
[<folder_name>]
path = /home/<user_name>/<folder_name>
valid users = <user_name>
read only = no
Finally restart the samba service:
sudo service smbd restartThat’s it with the server-side. On your machine, go to the file-explorer and navigate to the path:
\\<local_ip_of_server>\<folder_name>
It will prompt you for username and password, which are the linux user and the samba password.
Other services
A servers point is to run a task 24/7. This can be everything, from running a database to running your own media-server. There are many ways to run those tasks, but today, we will discuss docker. In short terms docker can run multiple tasks at once and shares system resources among them, making docker much more efficient than VMs.
To install a service and run it on docker you must find an installation guide for that specific task. Usually you will find it one the website of the program you want to run.
Conclusion
Setting up your own server is something completely different than anything you have done before. Yes, at first it does seem overwhelming, but I promise, it will be interesting and you will learn a lot from it. I hope this article helped you setup your server and everything is working out fine!
